Well I'm back home and healing. Yesterday the doctor told me I can type and move my hand on the arm that's been operated on. I can even bend it at the elbow, but I am not to lift it and I still have to wear the sling.
I'd like to see him type that way!
I'll post more blocks as soon as I can. The husband driven posting didn't work so well...partially because the day I went in for surgery my husband came down with a full blown case of the flu.
Life is interesting!
Tuesday, January 18, 2011
Thursday, January 13, 2011
Surgery tomorrow
Well, I'm a little anxious about tomorrow's surgery. I haven't always had the best of luck with surgery and I want to make sure I do what I can to up my odds of recovery.
Today I'll be working on getting things as together as I can. I'm going to try to get a few posts done so my husband can just publish them. We'll see how it goes.
So if I don't post here for a bit, it's because I'm working on the recovery!
Today I'll be working on getting things as together as I can. I'm going to try to get a few posts done so my husband can just publish them. We'll see how it goes.
So if I don't post here for a bit, it's because I'm working on the recovery!
Wednesday, January 12, 2011
Block Project - Block 10 - Slanted Diamonds
Today's block is block 10 on page 57 of Jinny Beyer's The Quilter's Album of Patchwork Patterns. Slanted Diamonds is the name of the block.
When I took the shots, I had miscut the diamond pieces. So you will find that on this first picture the size of the patches is wrong.
 .
.

Here I've cut them down to the correct size. I had to 'reverse sew' after I noticed the problem with the size.


When I took the shots, I had miscut the diamond pieces. So you will find that on this first picture the size of the patches is wrong.


Here I've cut them down to the correct size. I had to 'reverse sew' after I noticed the problem with the size.


Tuesday, January 11, 2011
Block Project - Block 9 - Goose Chase
Today's block is the last block on page 56 of Jinny Beyer's The Quilter's Album of Patchwork Patterns.Block 9 is listed as Goose Chase.
Here's the piecing sequence:


I really don't understand why Blogger is jacking with some of my images. For some reason it rotates some of them when I upload them.
Here's the piecing sequence:


I really don't understand why Blogger is jacking with some of my images. For some reason it rotates some of them when I upload them.
Friends!
My friend Yvonne is amazing.
I'm a fairly insular person, I don't go much of anywhere and I have health issues that make it difficult when I do. So, in many ways the Internet has been a lifesaver. I met Yvonne through a blog post a couple of years ago and I feel blessed that we connected.
I've always thought the best kind of friend was the kind that supported you when you need it, and kicked your butt when you needed that. Yvonne fits the bill! We like similar things and have some extremely different tastes.
She's also amazingly thoughtful. For instance, my feet are somewhat deformed and I have trouble with socks. Yvonne knitted me a pair! Just look at how wonderful they are!

One of the best things she ever suggested was that we get video cameras and chat while we sew. It's really like having a friend over. We can chat and sew and have a great time. I just wish we could loan supplies through the Internet! I don't know how many times I wished I could just ask her to pass me a seam ripper!
Monday, January 10, 2011
Block Project - Block 8 - Sailboat
I had a much easier time today with the block. I think yesterday was just a difficult day all the way around. This is block 8 on page 56 of Jinny Beyer's The Quilter's Album of Patchwork Patterns.
I'm still using my hand dyed fabric and today's block is 6 inch finished.
Here is the block piecing sequence:


I'm still using my hand dyed fabric and today's block is 6 inch finished.
Here is the block piecing sequence:


Sunday, January 9, 2011
Block Project - Block 7 - Duck's Foot
Today's block gave me fits. I am sure it was just me having a rough day. I want to redo the block again at another time.
The block is listed as block number 7 on page 56 of Jinny Beyer's The Quilter's Album of Patchwork Patterns. In addition to having some issues with the block I also had some issues with the camera.
Here's the block piecing sequence:


The block is listed as block number 7 on page 56 of Jinny Beyer's The Quilter's Album of Patchwork Patterns. In addition to having some issues with the block I also had some issues with the camera.
Here's the block piecing sequence:


Saturday, January 8, 2011
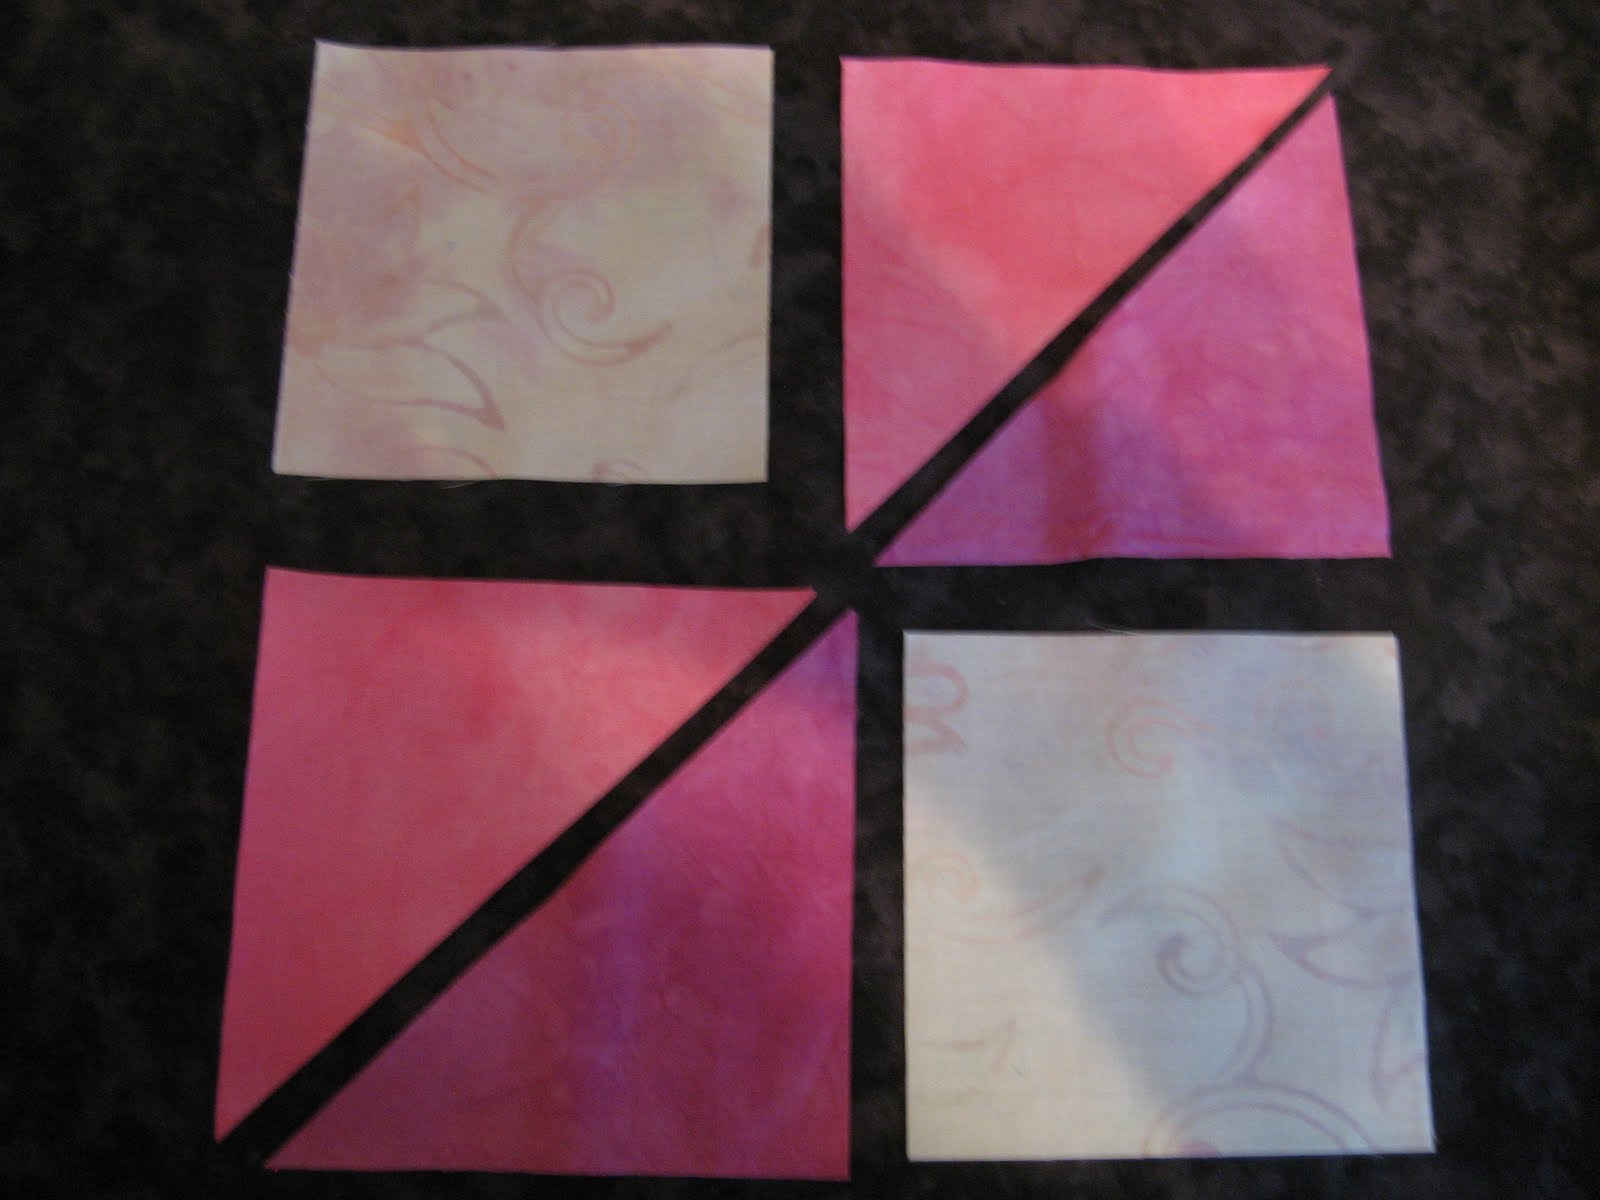
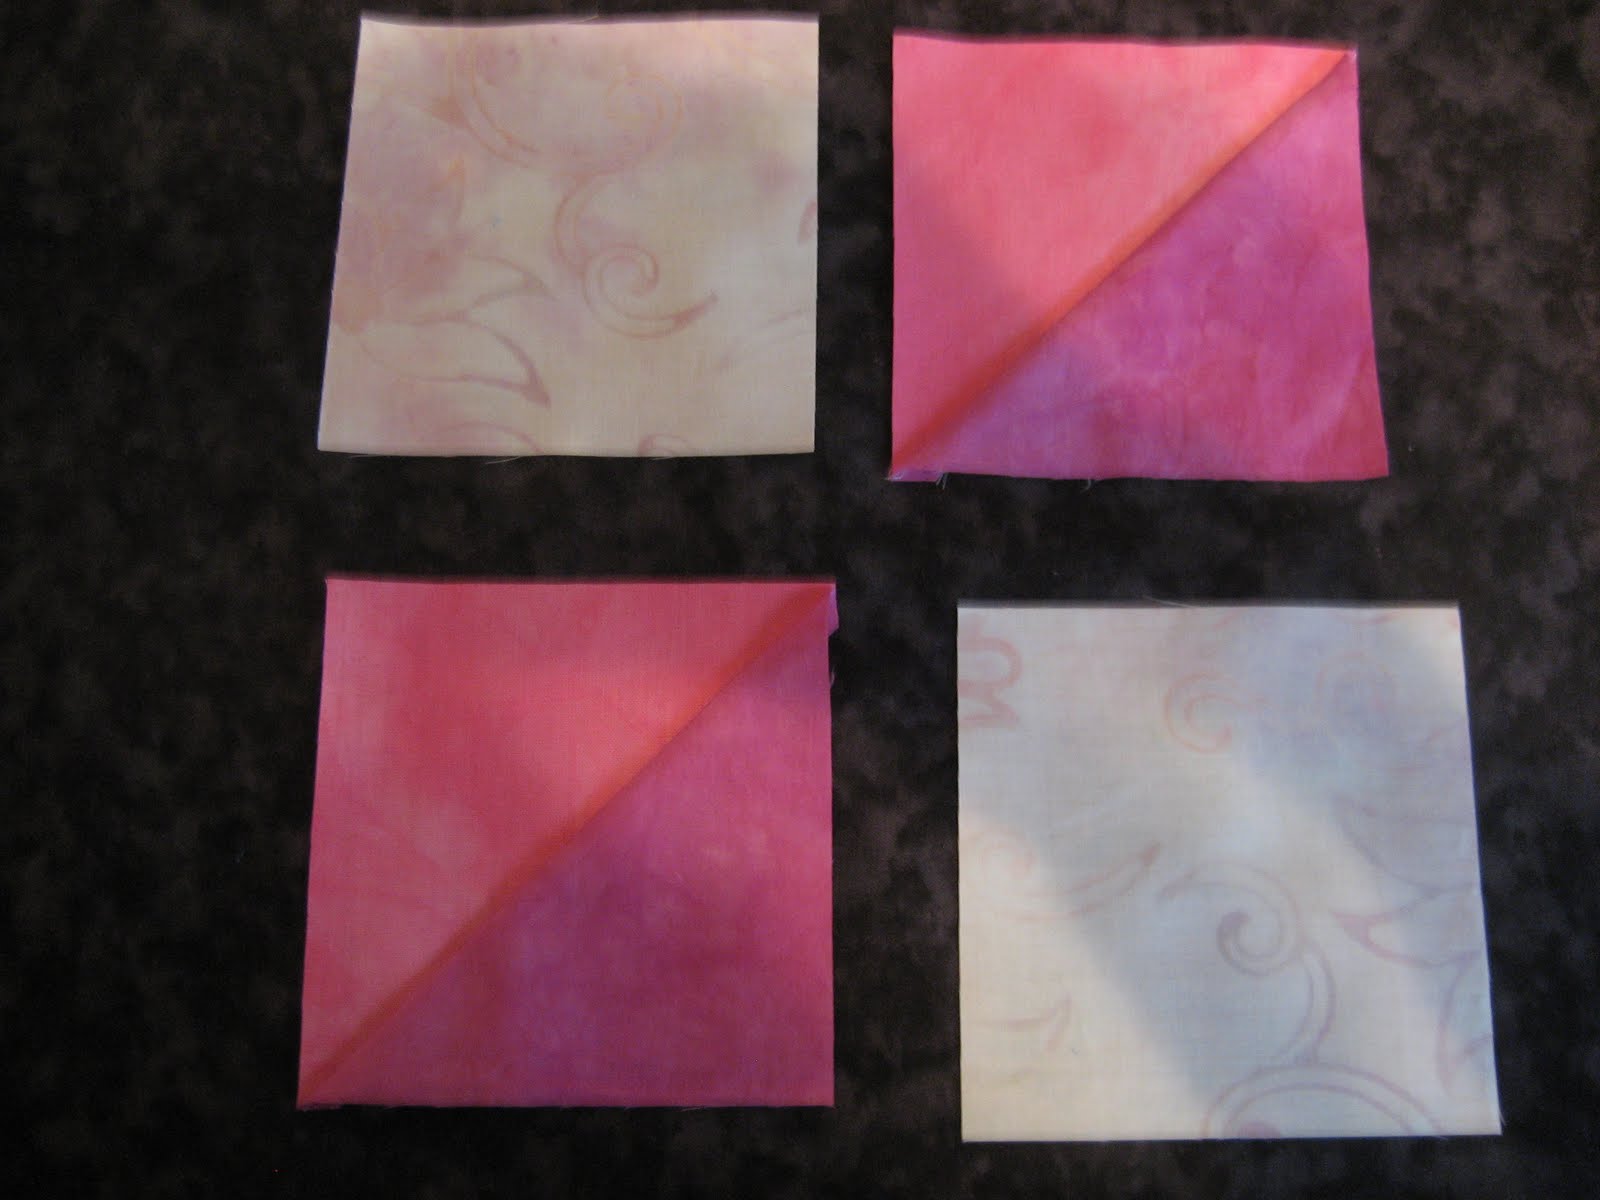
Block Project - Block 6 - Birds in the Air
The block for today is block number 6 on page page 56 of Jinny Beyer's The Quilter's Album of Patchwork Patterns. The block name is Birds in the Air and I'm still using my hand dyed fabric.
Per usual, here is the block just cut out and laid in position to piece it:

Okay so Blogger is misbehaving and no matter what I do this image comes out in the wrong orientation. As you will see from all the other photos, which it does not mess with!
Here's the block after the square in the upper right hand corner is pieced:

Here we have the triangles added first the right side:
 :
:
Then the left:

And finally here is the block all sewn together:

Per usual, here is the block just cut out and laid in position to piece it:

Okay so Blogger is misbehaving and no matter what I do this image comes out in the wrong orientation. As you will see from all the other photos, which it does not mess with!
Here's the block after the square in the upper right hand corner is pieced:

Here we have the triangles added first the right side:

Then the left:

And finally here is the block all sewn together:

Friday, January 7, 2011
Block Project - Block 5 - Hidden Square
Today's block is called Hidden Square and you can find it on page 56 of Jinny Beyer's The Quilter's Album of Patchwork Patterns She has it listed as block number 5.
I'm still using my hand dyed fabric for these blocks.
Here is the block pieces cut and laid out:

Here's the first piece sewn:

Here's the second piece sewn:

And here's the completed block:

I'm still using my hand dyed fabric for these blocks.
Here is the block pieces cut and laid out:

Here's the first piece sewn:

Here's the second piece sewn:

And here's the completed block:

Thursday, January 6, 2011
Block Project - Block 4 - Washington's Puzzle
Since I've been following along in Jinny Beyer's The Quilter's Album of Patchwork Patterns, some of you may have wondered what happened to block number 2. Today's block is block number 2 on page 56 and it isn't quite as straight forward as the other blocks I've posted.
I'm easily able to use templates to create a block, but I was curious if I could come up with a method of cutting this block without using templates. I knew that because of the odd shapes I couldn't just add the regular 1/4 inch for the seam allowance. I had once seen an episode of Fon's and Porter where they pieced a star by cutting two fabric squares stacked which makes two blocks at once. So I thought I'd try my hand at that.
First I stacked two squares of fabric and cut them apart in the block design:

I then went about piecing the blocks until I had two finished blocks:

At a glance, the blocks look right, but when you compare the block to the original drawing, the sizing is not correct. I tried various sizes of squares and none of them worked out correctly. Though one bonus of doing these blocks was finding out the pattern made by the two opposite colored blocks when places side by side:

So, since this didn't work as expected, I knew I had to go back to templates. Although I could easily have machine pieced the block, I am also a fan of hand piecing. I chose to do my templates on freezer paper and here is the block cut out using the freezer paper templates:

Since I was hand piecing, I didn't really care about being exact on the seam allowance. Here's the block with each row finished:

Here is the block after joining the rows:

Here's the completed block before I squared up the seam allowance:

And here's the completed and squared up block:

Wednesday, January 5, 2011
Block Project - Block 3 - Homeward Bound
Today's pictures prove I'm not a photographer. :)
Hopefully I'll improve in time. I have a lot of blocks to go! Speaking of which, this year I'm all about not being in a hurry. I could post multiple blocks a day and I even considered that... but at this time, I just want to go at a leisurely pace. The emphasis for me is enjoying the process and not worrying about the end.
The block I picked for today is called Homeward Bound and this is the second time I've made one. The first time I realized that I pieced the block wrong and so the pictures were wrong. This time I managed to do it right.
Again, with the hand dyed fabric...
You can find the block on page 56 of Jinny Beyer's The Quilter's Album of Patchwork Patterns
It is block number 4.
Although I'm going along kind of in order I'm not necessarily going to keep to that and I may use other sources for blocks as well.
Now on to the less than stellar pictures!
Here's the block pieces:

Here is the block with the half square triangles sewn:

Here I have joined the bottom two pieces and the top two pieces:

And now we have the final block completed:

Tuesday, January 4, 2011
Block Project - Block 2 - Cotton Reels
Today's block is Cotton Reels which is block number 3 on page 56 of Jinny Beyer's The Quilter's Album of Patchwork Patterns.
Again, I'm using my hand dyed fabric, and since the book illustrates only the finished pattern with no piecing instructions, I'm using my own method. :) For this block I chose an 8 inch finished size and drafted it on paper first. I easily could have used Electric Quilt, but for some reason I'm finding it very satisfying to do this on paper.
Here's the block laid out after cutting:

Here's the block with the half square triangles sewn:

And now with the finished half square triangle pieces sewn to the adjoining squares:

And here is the finished square:

Again, I'm using my hand dyed fabric, and since the book illustrates only the finished pattern with no piecing instructions, I'm using my own method. :) For this block I chose an 8 inch finished size and drafted it on paper first. I easily could have used Electric Quilt, but for some reason I'm finding it very satisfying to do this on paper.
Here's the block laid out after cutting:
Here's the block with the half square triangles sewn:
And now with the finished half square triangle pieces sewn to the adjoining squares:

And here is the finished square:

Monday, January 3, 2011

Block Project - Block 1 - Arrowhead Puzzle
I've always been fascinated by quilt books cataloging blocks. And I have a secret love of sampler quilts, especially the Japanese style ones. If you've never seen any of these quilts you may understand my love affair with them. Here's a link to a slide show of the 2009 Tokyo Quilt festival (not done by me) and you can see some of the intricate work they do.
For a long time now I've kicked around the idea of going through a pattern book and doing all the blocks. But like many of the ideas I have it just sort of has been sitting there. Right after it was published I picked up Jinny Beyer's great book The Quilter's Album of Patchwork Patterns. Again I kicked around the idea of doing a block a day or some such thing, but never got around to it.
Well, the time has come and I've decided to launch a year long project of making blocks. Currently I'm pulling from The Quilter's Album but I may pull from other sources as well.
I'm comfortable with drafting my own blocks, either with Electric Quilt or on paper and since I plan to mix up the sizes of the blocks, that's a good thing!

My first block was drafted on paper. Unfortunately the camera had a hard time with the white paper, so you may not be able to see this very well. I drafted it as a 4 inch finished block. The block is named Arrowhead Puzzle and it is on page 56 of Jinny's excellent book.
Here is the block in various stages of construction.
First after cutting out the pieces:

Next after sewing together some of the parts:

Finally the completed block:

I realize I didn't keep the orientation of the pieces consistent and I'll make sure to do that in the future. This was pieced using some of my hand dyed fabric.
Sunday, January 2, 2011
Onward!
Besides the time I spent yesterday doing a little of whatever I hope to be doing in the coming year, I also spent a lot of time thinking about the best way for me to move forward. I have to take into account that I'm going to be unable to do anything for awhile. I don't yet know what limitations my surgery will place on things, but I'm determined that it won't stall my quilting.
I want to finish what I started and continue working through the Quilter's Academy books. I got stalled on this, I know where and why, I just have to figure out how to get past it. It's the silliest thing really, but I'm having a hard time following the method for straightening the material. I've always done it slightly different. I'm going to go back and follow the instructions step by step and give it one more try.
The fabric straightening wasn't the largest issue, however. I kept thinking about how many quilt tops I have that aren't quilted. I've pieced a fair amount of tops, but I've only ever finished quilting one. I knew that working through the book would add to how many tops I have in the 'to be quilted' pile and I really am tired of not really finishing quilts.
One thing Harriet has suggested is to learn to quilt them at the same time, so you actually finish each quilt. I thought that was an excellent idea and spent some time trying to figure out how best to do that.
I knew that I could also use Harriet's quilting book. I have read through this book and in Harriet's style it is excellent. However I have never liked using monofiliment thread in my quilts and that has always kept me from doing it this way. Then late last year I stumbled across Leah Day's site. I was completely inspired.
 I knew my machine set up, though fine for piecing, would simply not work for quilting. Harriet talks about this in Quilter's Academy Vol 1, even for piecing. But I figured I could deal with the set up since I couldn't afford a new table.
Although I have talked to my husband about doing a cutout in the old desk I was using, he wasn't really confident about doing the work without destroying the desk. So, for my birthday I asked for one of the tables she sells.
 So now my sewing setup looks like this. As you can see I still don't have the ideal setup, but I'm really amazed at the difference the table makes in my piecing, being level as it is. I still need to figure out what to put to my right when I'm quilting. The room is small and I don't have a lot of options, but my friend Yvonne has suggested that I put my ironing board to the right when I quilt and I think that's the best solution for the moment.
Eventually I'd like to get a better setup, but I have a fairly small room and have to deal with what I can.

So, it's onward from here....
Subscribe to:
Posts (Atom)

